How to Upload a 3rd-Party DNA File for Your Client
If you have a client who already has a raw DNA file and does not need our kit, you can upload their file. However, there are important limitations. Read this article to learn more.
How to Add a Client and Upload Their File
-
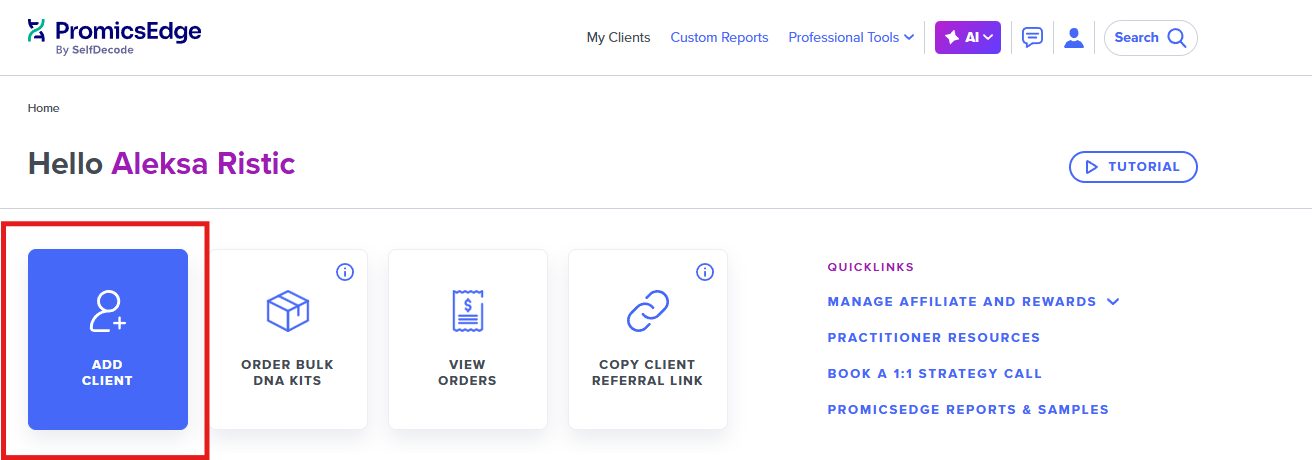
Go to "Add client" from your main dashboard
-
Choose the reports you want to unlock for that client
IMPORTANT: Some reports are not available with 3rd-party files, and they are labelled with "*" (Requires PromicsEdge DNA file)
-
Under the "DNA Analysis" section, select the "Upload or skip DNA file" option.
 If you don't have the upload option displayed, make sure to enable it first under your account preferences.
 -
Once you create a client, they will show up on your dashboard. In the "DNA file" column, you will see "missing" and a dropdown arrow. Click there and select "Upload DNA file" option.


After a successful upload, the status will change to "Scanning". File scanning may take a couple hours. If the file is successfully scanned, the status will change to "Active", and you will be able to access all the purchased reports for that client.